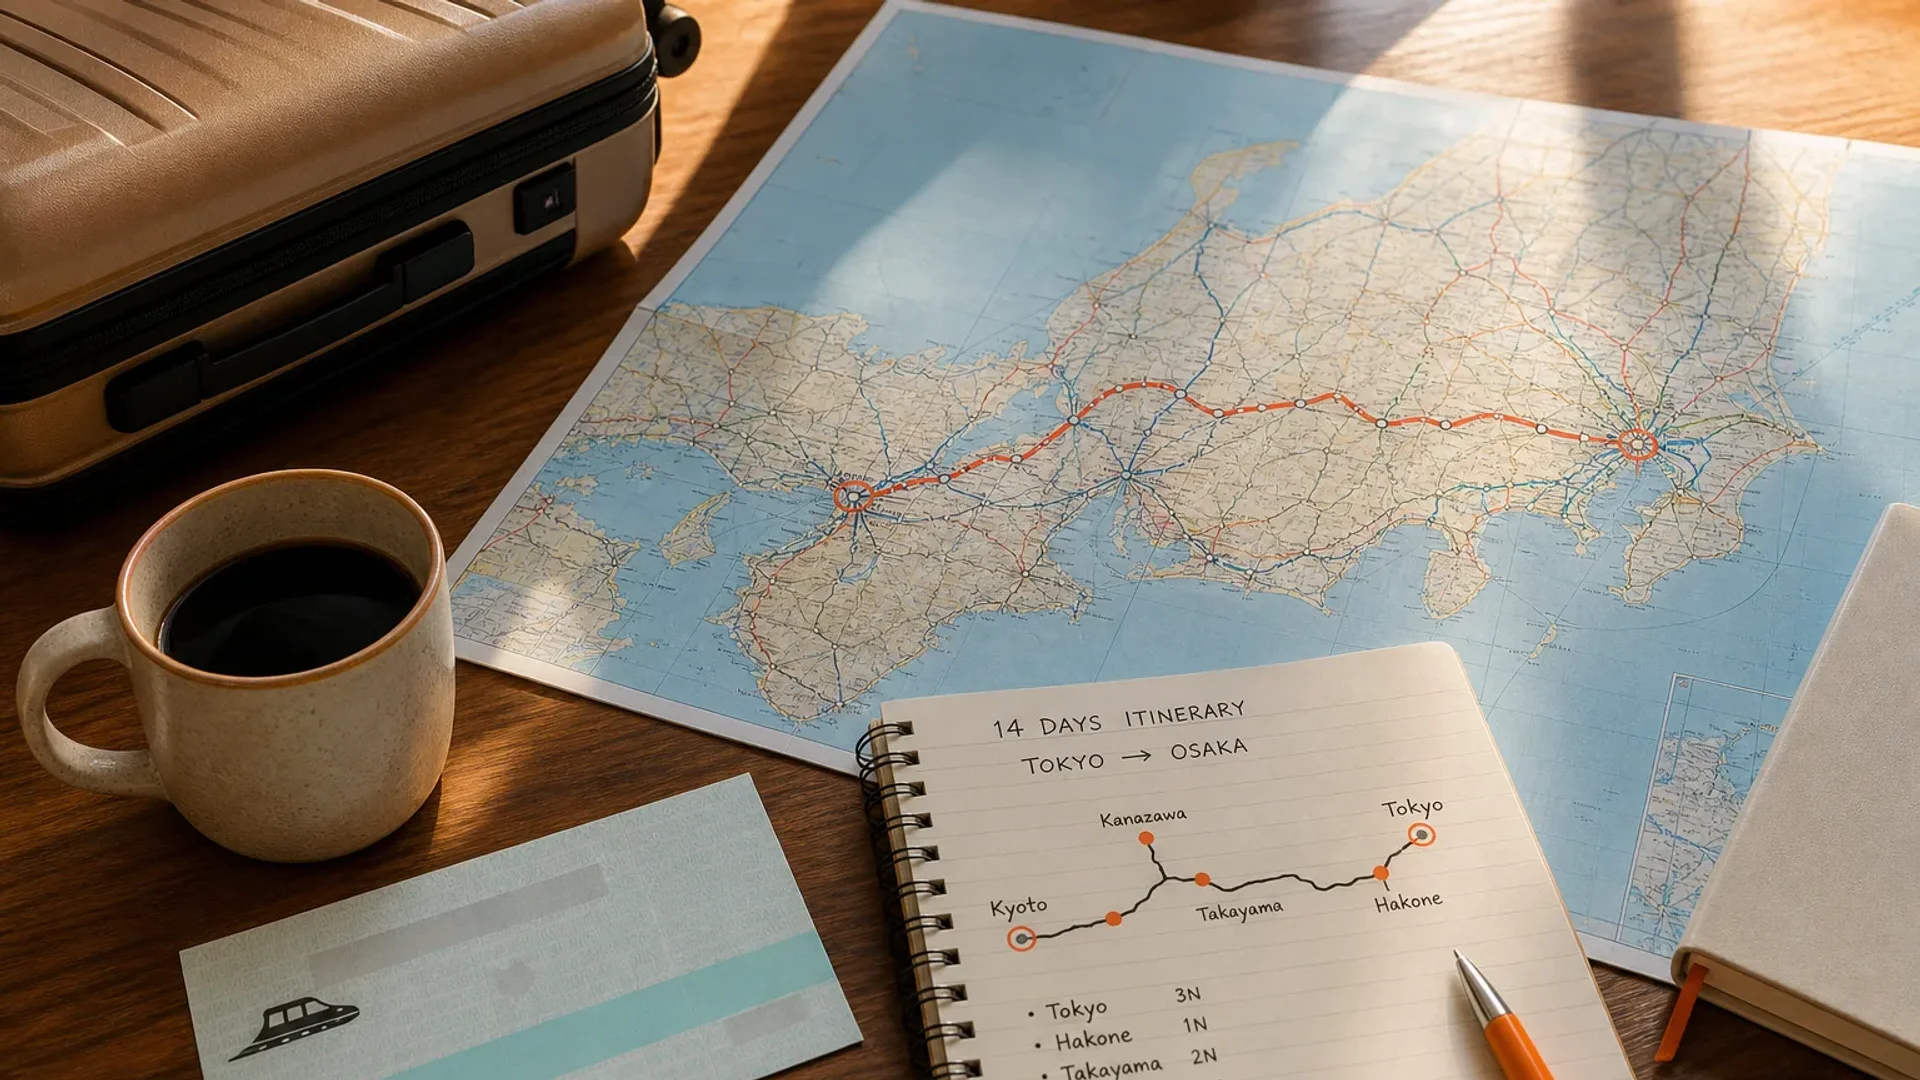
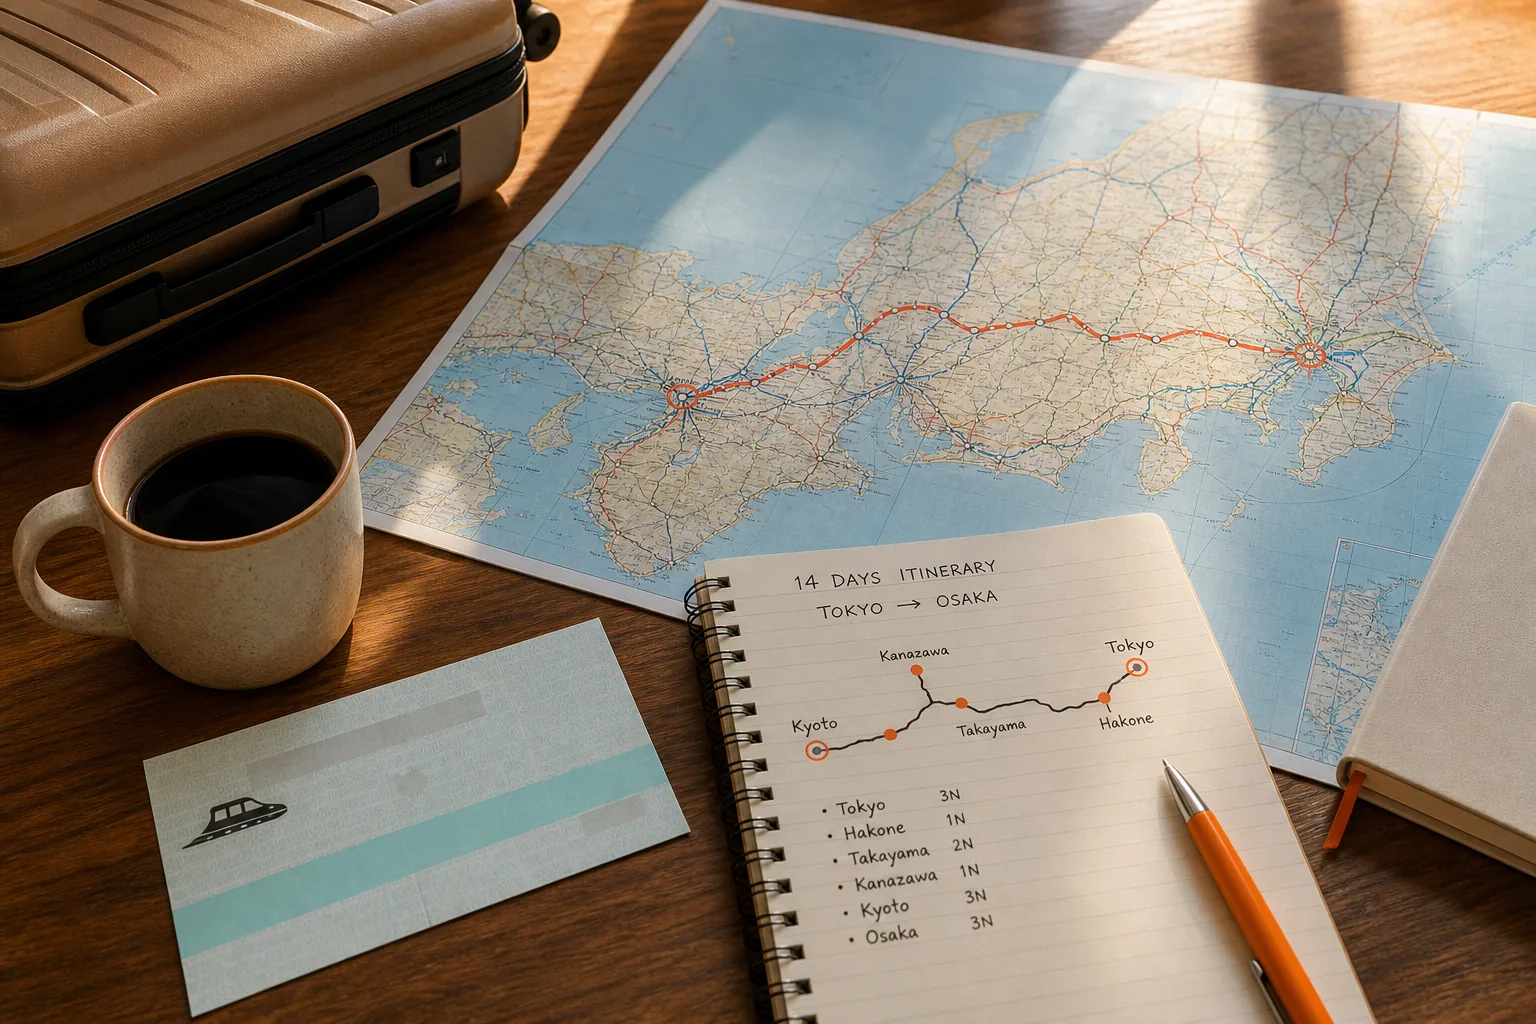
Most two-week Japan plans stop around Kyoto. That leaves the final five days vague, right when you need the most help with pacing and cost. We’ve built a cleaner route that starts in Tokyo, uses Hakone as a break, then moves through Kyoto, Nara, Hiroshima, Miyajima, and Osaka.
Some links in this article are affiliate links. If you book through them, we earn a small commission at no extra cost to you. We only include affiliate links for things we’d recommend regardless. If we wouldn’t send a friend there, it’s not here.
Step 1: Choose the Right Japan Route Before Booking
A Japan itinerary 14 days long works best as a one-way route, not a series of back-and-forth trips. Start in Tokyo, head west, and fly home from Osaka if your airfare allows it.
That route cuts out one long return to Tokyo. It also lets the trip build at a sensible pace. Tokyo gives you the first hit of city energy. Hakone slows things down. Kyoto adds temples and old streets. Hiroshima brings a serious history stop. Osaka finishes the trip with food and late nights.
We’d book the international flight first, then check the domestic route before buying rail tickets. If you must return to Tokyo for your flight, keep Osaka as the final stop and allow a full travel day back to the airport city.
Route choice
Use it when
Trade-off
Tokyo to Osaka
You can fly home from Kansai
Less backtracking
Tokyo to Tokyo
Your return flight is fixed there
More time and one extra long rail trip
Hakone overnight
You want an onsen stay and a slower day
Less time in Kyoto or Osaka
Hakone day trip
You want Fuji-area scenery without changing hotels
A long day with several transfers
Japan Rail Pass pricing varies by purchase date and current fare rules. Check the current fare before paying. A pass may not save money on the core route, so enter every long train ride into a Japan two-week itinerary with rail planning before you buy.
For many travelers, the smarter move is to skip the nationwide pass and buy single tickets. Tokyo to Kyoto fares vary by train and booking conditions, as do Tokyo to Nara fares. Add side trips before deciding.
We’d also delay pass activation until the first long intercity ride. Tokyo sightseeing mostly uses local subway lines, which can waste several days of a continuous pass.
Before booking: reserve hotels near a major station, check luggage rules, and confirm your flight airport. A small room can feel much smaller once two suitcases are open.
Step 2: Spend Days 1 to 3 Exploring Tokyo
Use the first three days of this Japan itinerary 14 days plan for Tokyo’s main districts. Stay in Shibuya or Shinjuku if easy rail access matters most.
Shibuya is a good first base because the crossing, shops, restaurants, and Harajuku are close together. Shinjuku feels louder and more intense, but its station connects well with the wider city. The neighborhood research also warns that Shinjuku gets crowded and hotel rooms cost more.
Day 1: Harajuku and Shibuya
Start at a major shrine before the crowds build. Then walk toward Takeshita Street. If the noise gets too much, use Omotesando instead. It has more space and a calmer pace.
Continue to Shibuya Crossing in the afternoon. Shibuya Sky pricing varies by entry time, so check current rates online. Reserve ahead if sunset matters.
Finish with a small izakaya or ramen shop near the station. Don’t plan a late night if you’ve just arrived from North America. Jet lag wins that argument.
Day 2: Asakusa and Ueno
Visit Senso-ji at 6:00 AM. The gate and shopping street are far calmer before 8:00 AM. Then walk beside the Sumida River toward Tokyo Skytree.
Spend the afternoon in Ueno. The Tokyo National Museum gives you a quieter indoor block when your feet need a break. If museums aren’t your thing, move on to Akihabara for electronics and anime shops.
Keep this day focused on the east side of the city. Tokyo looks close on a map, but a cross-city trip can eat an hour before you’ve seen anything.
Day 3: Pick one Tokyo theme
Choose a theme instead of cramming in every famous stop. Use the morning for a second Shibuya visit, a food walk, or a museum. Save the afternoon for Shinjuku, including a free view from a public observation deck.
We recommend one food splurge here, not five rushed reservations. Tokyo rewards small choices made near where you already are.
Step 3: Use Days 4 and 5 for Hakone or Fuji Views
Days 4 and 5 give your Japan itinerary 14 days plan a needed change of pace. Choose Hakone if you want hot springs, lake scenery, and a compact loop.
Hakone works as either a day trip or an overnight stay. A Shinjuku day trip takes about 85 minutes each way. Its listed two-day Hakone Free Pass is available from Shinjuku. A direct train needs a separate supplement, so check the current fare.
For an overnight, forward your large bag to Kyoto and carry one small pack. Luggage transfer pricing varies, so check the current rate before sending anything.
Day 4: Travel from Tokyo to Hakone
Take a direct train from Shinjuku to Hakone-Yumoto if you value a simple ride. The standard route costs less but needs a change at Odawara. Buy the pass before leaving if you plan to use the full loop.
Go first to an outdoor museum. Admission pricing varies. Allow about 90 minutes.
Then continue through Gora, Sounzan, and Owakudani. The ropeway crosses volcanic terrain, and clear mornings give you a better chance of seeing Mount Fuji. Stay on marked paths because volcanic gas can affect access.
Day 5: Lake Ashi, then Kyoto
Take the ropeway toward Togendai. Ride the sightseeing boat across Lake Ashi, then walk near Hakone Shrine before returning to Hakone-Yumoto.
Black eggs at Owakudani are sold in bags, but the count can change. Check the quantity at the stall.
After your bath or lunch, take the train toward Kyoto. If you stay overnight, leave early the next day. If Hakone’s weather is poor, skip the expensive loop and move on. Fuji views are never guaranteed.
Our full Hakone day trip route is useful if you choose not to change hotels.
Step 4: Base Yourself in Kyoto for Days 6 to 9
Kyoto gets four nights in this Japan itinerary 14 days plan because rushing it creates bad days. Base yourself in Gion or near Kyoto Station, then group sights by area.
Gion gives you evening walks near Yasaka Shrine and the Kamo River. Kyoto Station makes train travel simpler. Pick the station if you care more about day trips. Pick Gion if you want to step outside into older streets after dinner.
Day 6: Arrive and settle in
Check the current Tokyo-to-Kyoto ticket price before booking rather than relying on a broken figure.
After check-in, walk through downtown Kyoto. Follow Sanjo-dori toward the river, then continue along Shijo-dori to Yasaka Shrine. This is a good first evening because it needs no complex transit.
Skip Nishiki Market if you arrive late or dislike crowds. Eat near Sanjo Station instead. Small restaurants with vending-machine ordering can make dinner quick and less costly, but exact prices change by shop.
Day 7: Fushimi Inari and southern Kyoto
Go to Fushimi Inari at 6:00 AM. The shrine is open all day, and the early start gives you a better shot at walking beneath the torii gates without a wall of people.
Return for lunch, then rest. Use the evening for Gion. Keep the walk respectful. Do not block lanes or chase people for photos.
Day 8: Arashiyama and western Kyoto
Reach Arashiyama early. Walk the bamboo grove, then continue through the wider area instead of treating the grove as the whole visit.
Add a quieter temple stop if you want one. Finish at Kinkaku-ji only if you still have energy. The route is long, so skip a stop rather than racing through all of them.
Day 9: Eastern Kyoto
Start at Ginkaku-ji, then walk the Philosopher’s Path toward another eastern Kyoto temple. The path is about 2 kilometers, or 1.2 miles, beside a canal. Continue toward Yasaka Shrine if your legs are fine.
Use the evening for Pontocho or a simple meal near your hotel. Kyoto is worth four days, but it does not reward a checklist mindset.
Step 5: Add Nara and Hiroshima Without Creating Exhausting Travel Days
Nara and Hiroshima fit this Japan itinerary 14 days plan when you give each a clear job. Nara is an easy cultural day trip from Kyoto. Hiroshima and Miyajima need an overnight because the rail journey is longer.
Day 10: Nara from Kyoto
Leave Kyoto after breakfast and travel to Nara. Keep the day to one main loop. See the park area first, then visit Todai-ji before the afternoon heat and crowds build.
Bring a small bag, water, and shoes you can remove with ease. The day includes more walking than the distance between sights suggests.
Return to Kyoto in the evening rather than sleeping in Nara. Move your main bag to Osaka the next morning. This keeps Day 11 simple.
Day 11: Hiroshima and Miyajima
Take an early train from Kyoto to Hiroshima. Visit the Peace Memorial Park and museum with enough time to process what you’re seeing. This stop is emotionally heavy, so don’t schedule a packed food tour afterward.
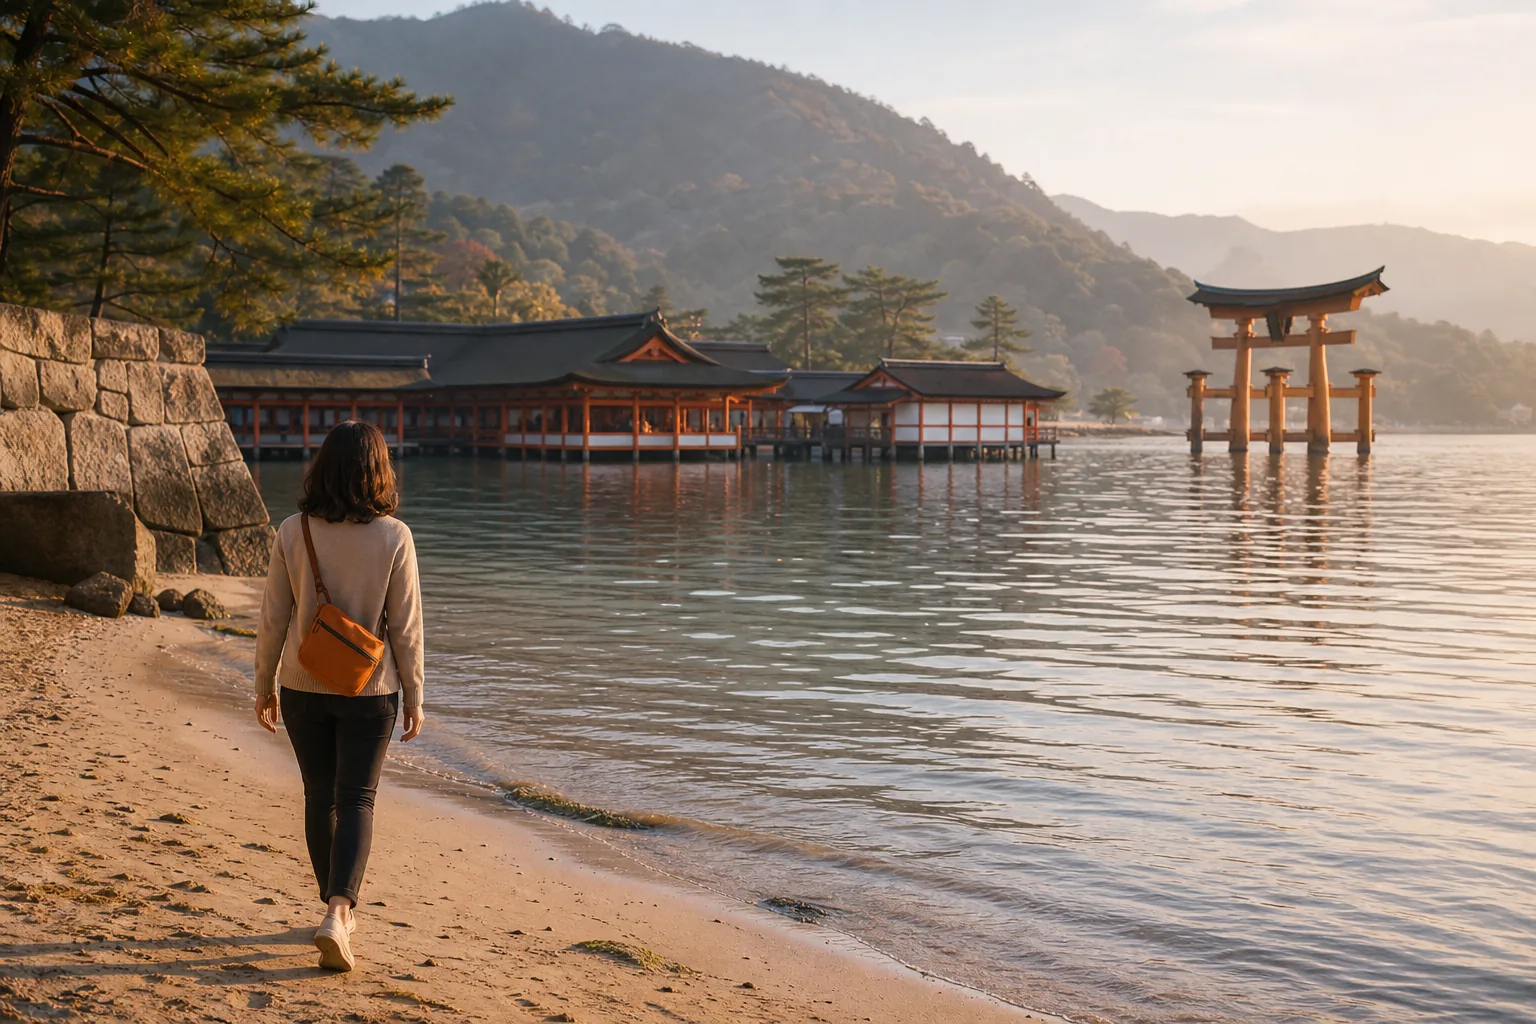
Continue to Miyajima if ferry timing works. Otherwise, stay in Hiroshima and visit the island the next morning. Give Hiroshima and Miyajima a two-day block, which is the right call for this distance.
Day 12: Miyajima, then Osaka
Use the morning on Miyajima. Check ferry schedules before leaving Hiroshima, then travel to Osaka in the afternoon. You’ll arrive tired, but you won’t have sacrificed the island to a rushed day trip.
A total two-week budget covers the full route rather than this day alone. Treat it as a planning frame, not a quote.
Step 6: Finish in Osaka on Days 10 to 14
Osaka gives the last part of your Japan itinerary 14 days plan more room to breathe. Use two full days for the city, then place Nara and Hiroshima before the final Osaka nights.
Day 13: Osaka food and neighborhoods
Start in a busy food market if you want a lively stop. Then head toward Dotonbori after dark, when the signs and canal area feel most alive.
Don’t spend the whole day in Dotonbori. It is fun, but the food streets can feel like a queue with neon. Add a walk through Umeda or a quieter neighborhood near your hotel.
Set a daily meal budget before you arrive.
Day 14: Osaka and departure planning
Keep your final day light. Choose one area near your hotel, then collect luggage and leave plenty of time for the airport. If your flight leaves from Kansai, confirm the route the night before.
We’d avoid a last-minute day trip. A delay on a local train can turn a relaxed departure into a sprint through the terminal. That is a poor final memory, and the guides won’t fix it after you miss boarding.
Before leaving home, check that your prescription glasses fit well and pack a spare pair if you have one. Travelers in Pensacola can use an eyeglasses provider as one option before a long overseas trip.
FAQ
Is 14 days enough for Japan?
Yes, 14 days is enough for a first trip through Tokyo, Hakone, Kyoto, Nara, Hiroshima, Miyajima, and Osaka. You won’t see every region. You will have enough time for the main cities plus two meaningful side trips if you keep hotel changes under control.
Should I buy a 14-day Japan Rail Pass?
A 14-day Japan Rail Pass may not pay off on this route by itself. Compare every long train fare with the current pass price before deciding.
How many days should I spend in Tokyo and Kyoto?
Spend three days in Tokyo and four nights in Kyoto for a balanced first trip. Tokyo needs time because districts sit far apart. Kyoto needs time because early starts make the crowded sights easier to handle without rushing every afternoon.
Is Hakone worth adding to a two-week Japan trip?
Hakone is worth adding if you want hot springs and a slower night between Tokyo and Kyoto. It is less useful if Mount Fuji is your only goal because clouds can block the view. Pricing varies by season and itinerary.
Can I visit Hiroshima as a day trip from Kyoto?
You can visit Hiroshima from Kyoto in one long day, but an overnight is more sensible. The extra night gives you time for the Peace Memorial Park and Miyajima without turning the trip into a race between stations, museums, and ferries.
Final Thoughts: Is This 14-Day Japan Itinerary Worth It?
Yes, this route is worth it if you want Japan’s major cities with room for Hakone, Nara, and Hiroshima. We recommend booking an open-jaw flight first, then setting your hotel bases and checking rail fares.
Solo female travel Costa Rica guide: how safe it is as of 2026, San José tips, a first route, bus vs shuttle vs car, and when a small group tour helps.
Verdict: Costa Rica is one of the easiest first solo trips in Latin America. As of November 2026 the US rates it Level 2 for crime, mostly petty theft, so plan San José nights carefully, use shuttles on long hops, and keep valuables close.
Solo female travel Iceland guide: how safe it is, the real risks (weather and roads), when to go, how to get around, and when a small group tour helps.
Verdict: Iceland is one of the easiest countries in the world for a woman to travel alone. The risk is the weather and the roads, not people, so plan around conditions, share your route, and consider a day tour for anything remote.
Scared to travel alone? Name the fear, shrink the trip, plan the first night, and let the nerves ride along. A first-timer's honest guide from Maren.
Verdict: You will not stop being afraid before you go. Shrink the trip, plan the first night, and go scared. The fear gets smaller once you are moving.